Tracks 
Each column on Tempera’s touchgrid represents a track, going from top to bottom.
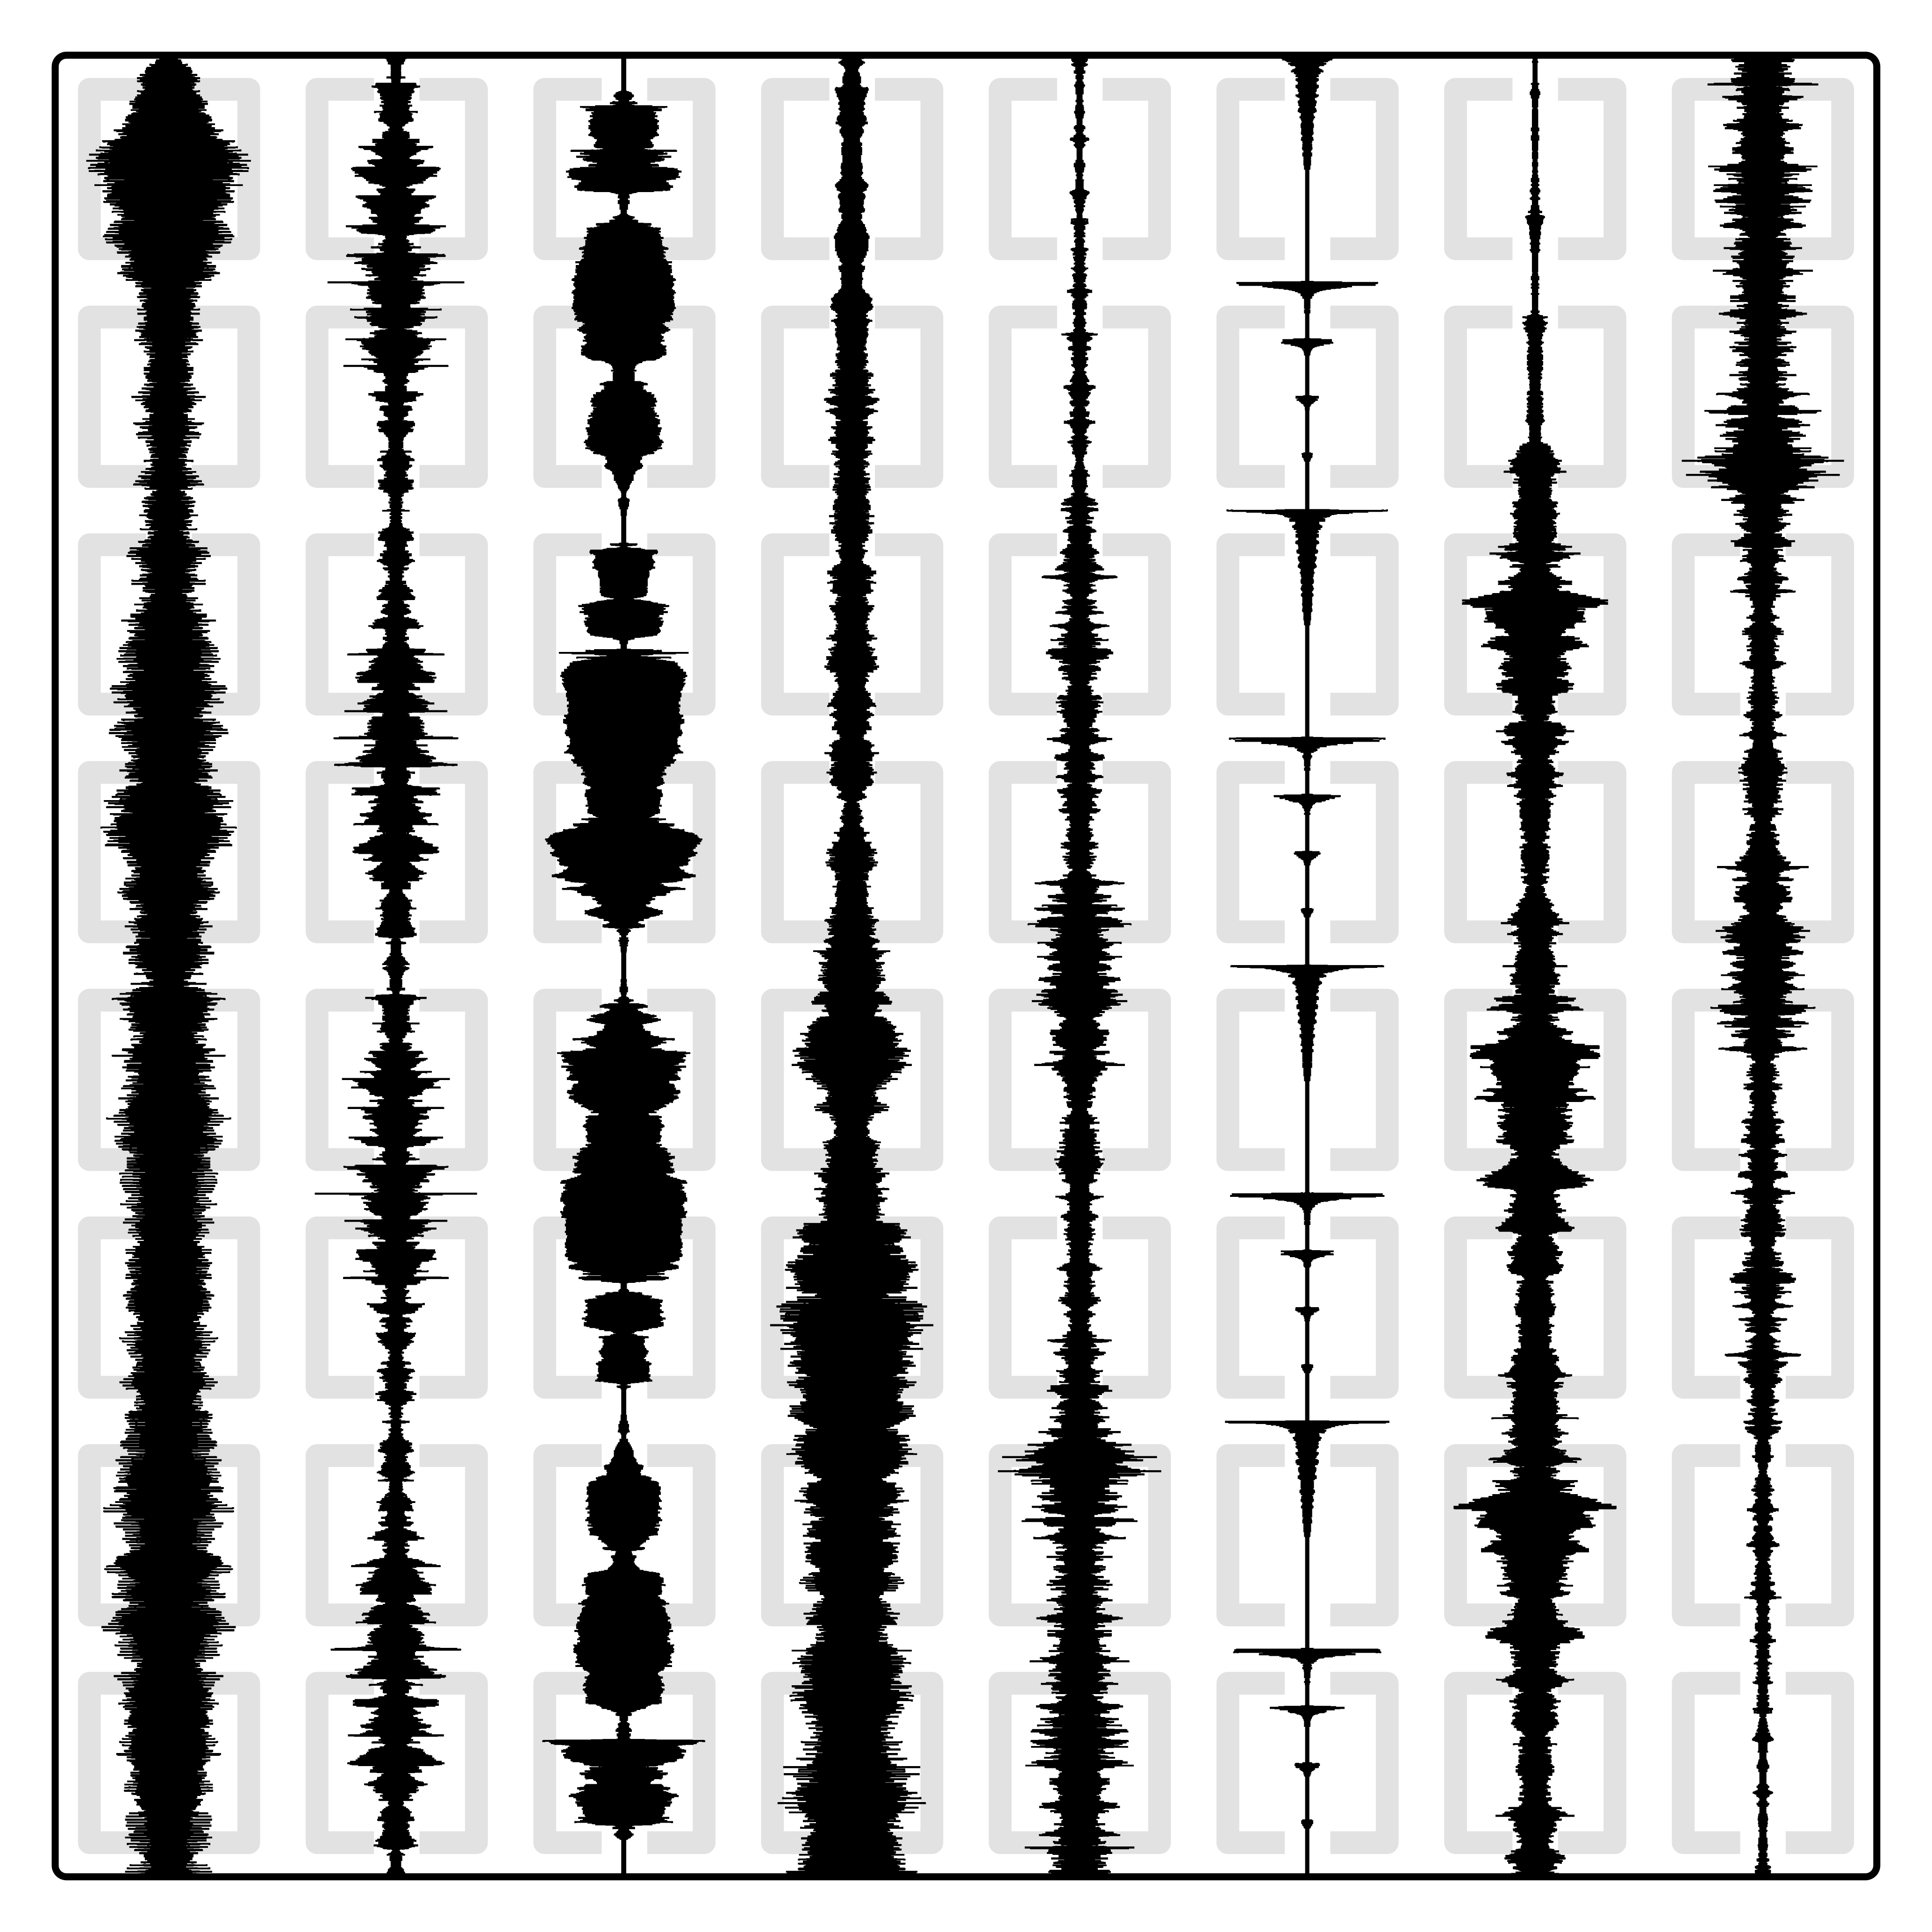
Each track contains a loaded or recorded audio sample, which can be up to ~11 seconds long. When a longer audio sample is loaded, it is possible to select which slice of it to load.
Tempera supports many common audio formats as samples, stores them internally as 16-bit 48 kHz, and processes them with 32-bit floating point math.
When you play a note, all placed emitters start emitting grains which ride on the tracks and play audio from their locations. For the engine to know how fast or slow the playback of each sample needs to be in order to match the note being played, each track needs to have its tuning configured. This is the Base frequency of the sample when played at its original speed in the Hz mode.
For example, if a base frequency of a sample is 440 Hz and you play the A3 note, Tempera knows to play the grain at half speed, since A3 is at 220 Hz. If you don’t know the tuning of the original sample, try using the pitch detector.
In addition to tuned samples, it is possible to load percussive ones. But in that case the sample playback needs to match not with your note played, but with your BPM tempo. For this, turn the track into BPM mode, and when any note is played, the track playback will slow down and tune down, or speed up and tune up, to match your global BPM. Each track in the BPM mode can have its Base tempo configured so it is possible to load percussive loops of different BPMs and they will be all synced perfectly.
Frequently Asked Questions
What is the exact maximum sample length?
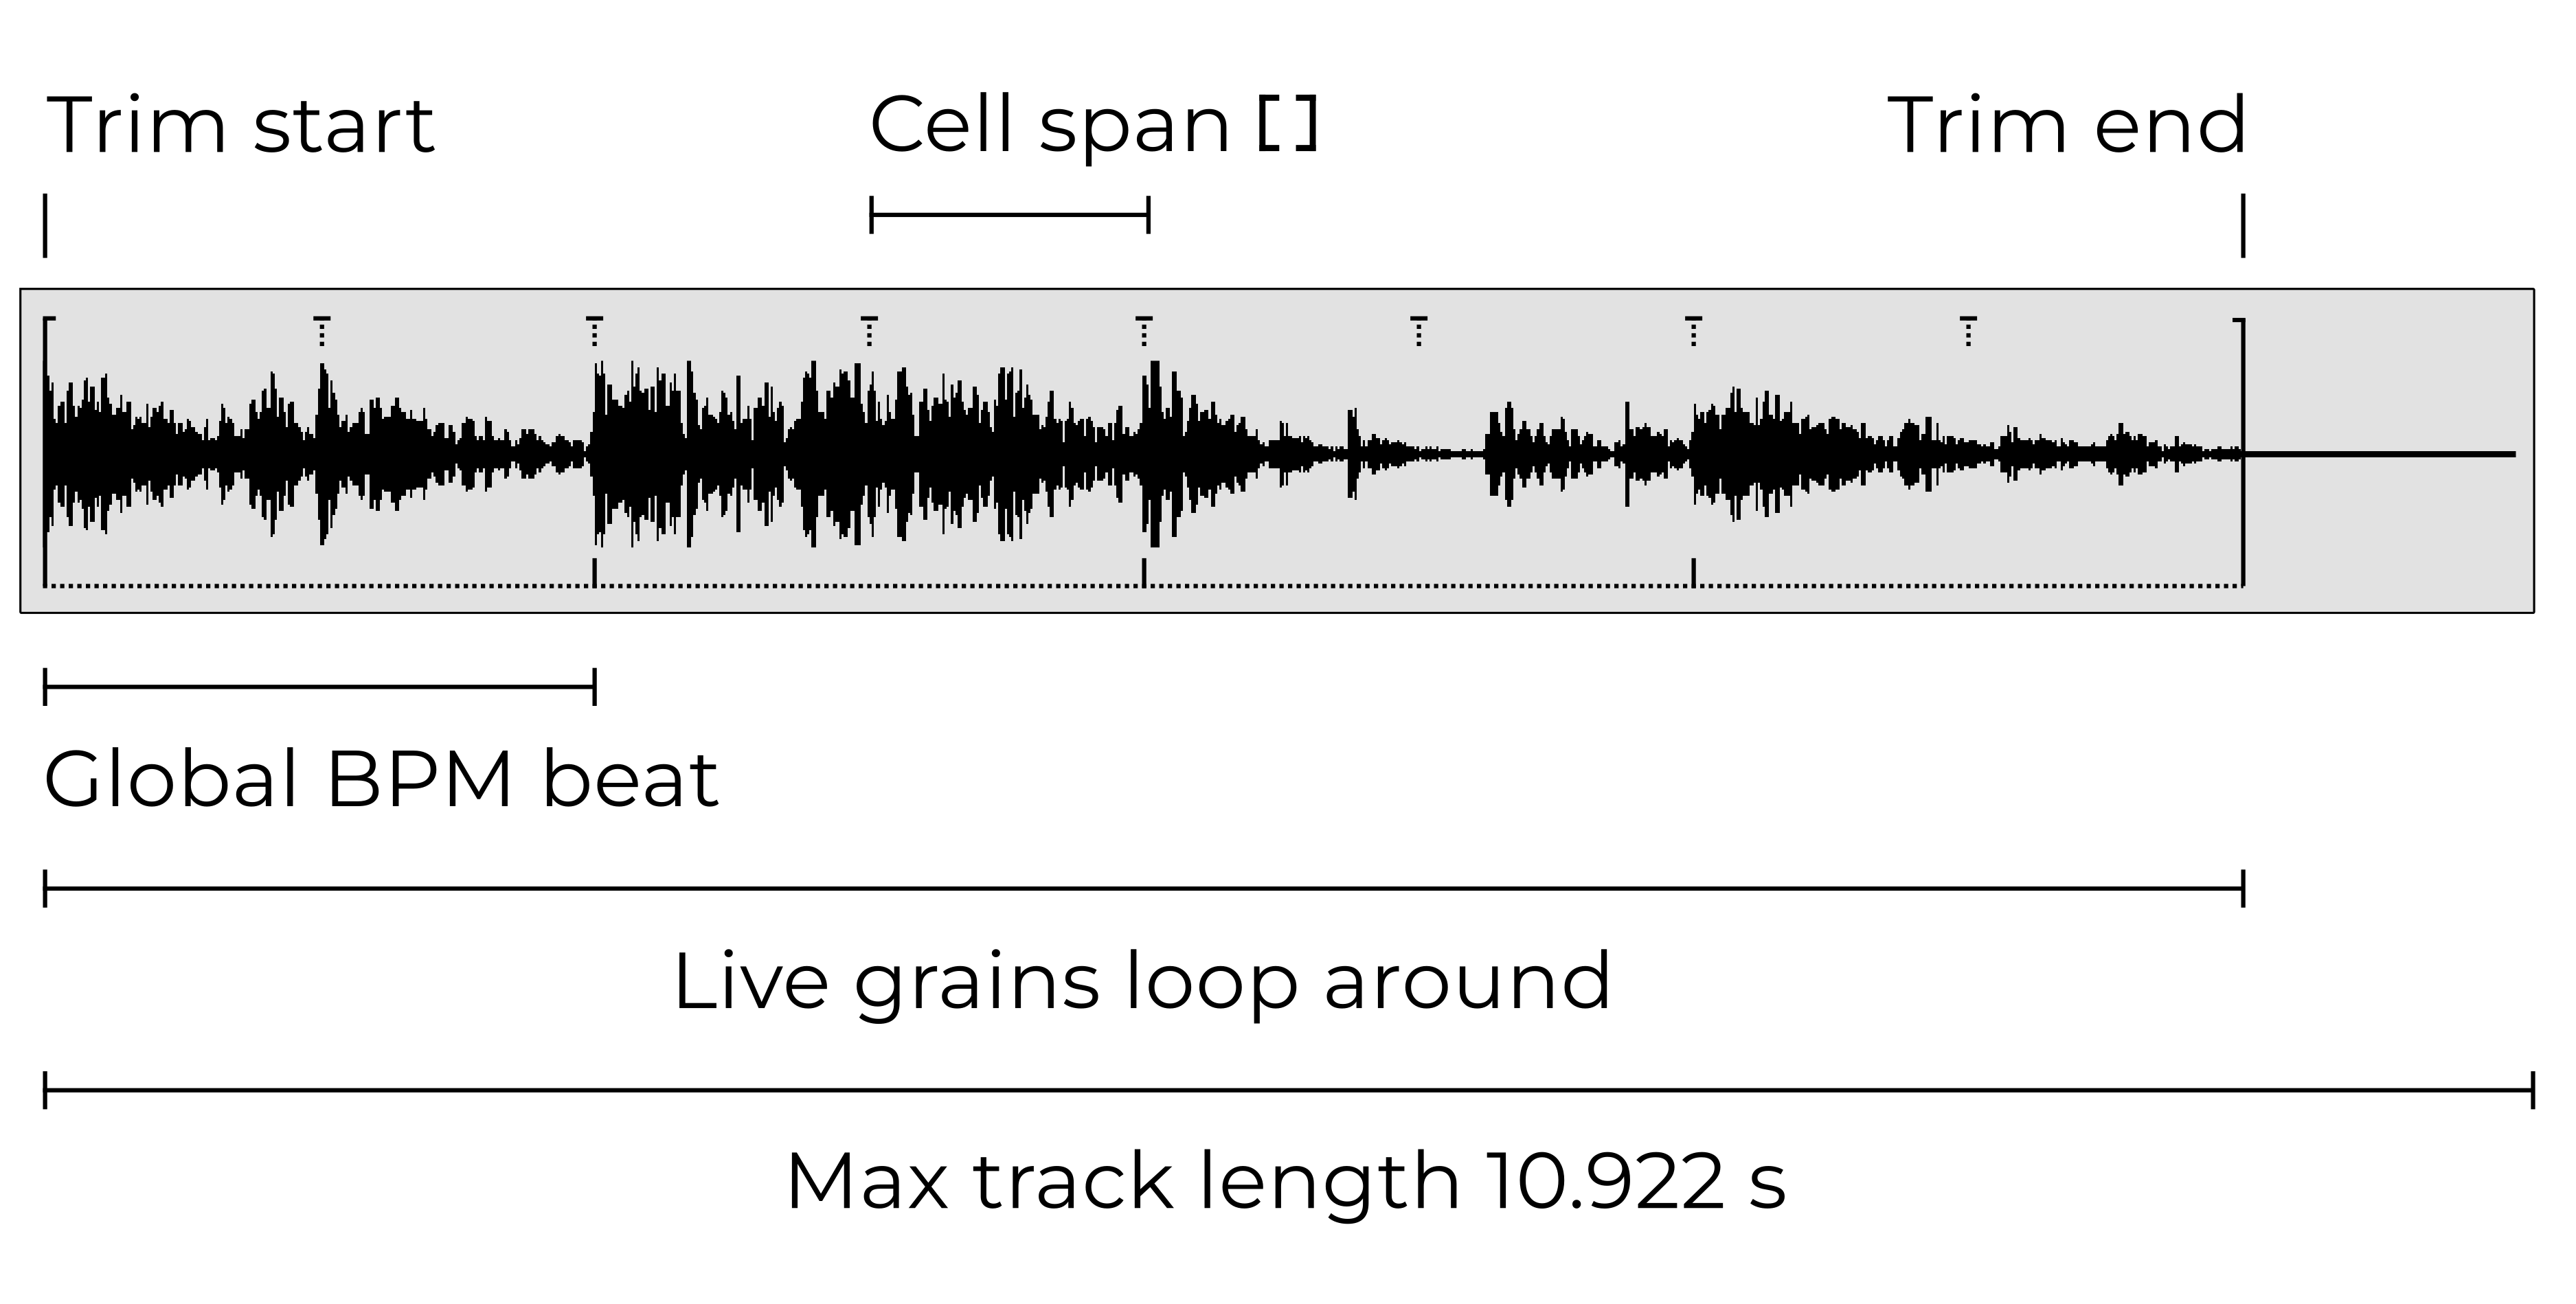
The total track length is based on 220 for programming convenience, resulting in 1048576 sample points.
With 48 kHz stereo audio, this gives 10.92266667 seconds.
Tracks menu
In the main Tracks menu, the names and volumes of tracks are shown on the displays above them, in groups of two. Turning the corresponding knob tweaks the volume of the selected track.
Each display has two context actions:
Switch which of the two tracks is selected for editing and volume change
Edit the selected track
Holding the Round button reveals alternate context:
Rec arms a track for recording. Recording begins the moment input audio crosses the Threshold set in Settings
 or on the next half note when Cue rec is activated. When recording, pressing the Round button again stops recording.
Tip
See Recording and Live grains for an overview of the recording workflow.
Editing a track
The Edit page of each track shows the track’s details and waveform and has the following actions:
Load a sample from the Sample browser. See Loading a sample into track for details.
Rename the track for display and exporting as a file.
To Hz and To BPM toggles the tuning representation between the Hz mode with base frequency and the BPM mode with base tempo.
Snap adjusts the tuning to the closest note (e.g. 441.3125 Hz becomes 440 Hz, 120.1 BPM becomes 120 BPM).
Play previews or listens to the track.
Trim allows to cut and normalize the sample in the Waveform preview. See Trimming a sample for details.
Delete discards the track contents.
Export saves the audio as a new file in the Sample browser.
Holding the Round button reveals alternate context:
Detect the pitch of the sample. It is possible to enter the note/frequency manually by turning the knob (turn faster by holding the round button).
Copy and Paste the track to/from a clipboard.
< Swap and Swap > moves the the track to the left or right.
Tips
You can press the Tracks
button twice to go quickly to last edited track.Press the Up and Down arrows to scroll between tracks.
Loading a sample into track
Tempera organizes audio samples in folders and files on the internal or external memory.
To load a sample into a track:
Go to Tracks
.Choose the track you want to load a sample into and press Edit.
Press Load to activate the Sample browser.
Choose a sample from either the internal or external memory and press Load.
When the waveform is now shown across all 4 displays, gray vertical bars are hinting at where the cell boundaries will be. If you’re loading a percussive sample, you will likely want to line the markers with sample transients.
Adjust the < Start > and < End > points using the first and last encoders and press Load. Scroll faster by holding the Round button.
Once the sample is loaded into the track, don’t forget to adjust its base frequency or base tempo.
Batch loading of samples
In addition to loading individual sample files, you can load an entire folder at once by holding Load at the folder level.
This loads alphabetically sorted samples from that folder into the currently edited and all subsequent tracks (up to eight tracks can be loaded at once). The batch-loaded samples are automatically trimmed to the maximum length.
Tips
Tempera can set the sample tuning automatically if you include the base frequency or tempo in its file name, for example Bells_533Hz.wav or DrumGroove130BPM.wav.
After you load a sample from the Sample browser but before it’s committed into a track, you can press the Up and Down buttons to quickly load the next or previous audio files in the folder.
While Tempera will accept and play any audio, here are a few general recommendations for making your own samples:
If you’re making a harmonic sound (such as a synth waveform), try keeping the base sample to a lower tuning, such as 110 Hz or 220 Hz.
When making sequenced sounds, it’s nice if the audio sample is neatly divisible in eight equal length slices. This will make it align well with the touchgrid cells.
When making a sample with an embedded melody that’s meant to be played with a keyboard, it’s usually a good choice to have the melody run in “safe” notes, such as octaves and fifths. For a bonus challenge: try making a sample melody more with its timbre and less with the pitch.
Trimming a sample
The Waveform preview allows to edit a sample which has been already loaded into a track:
Go to Tracks
.Choose the track you want to edit and press Edit.
Press Trim to enter the waveform preview.
Then, on the Trim page:
Adjust the sample < Start > and < End > points by turning the first and last encoders.
Normalize the sample by long-pressing the Norm button.
Nudge the individual cell markers using the second encoder if your audio sample requires uneven cell lengths.
Play the sample between the start and end points.
Holding the Round button reveals alternate context:
Rev reverses the sample so it plays backwards.
Reset distributes cell markers evenly, reverting any custom nudging.
Fit zooms the trimmed portion of the track to fully cover all four displays (Unfit to zoom out).
Trim cuts the sample contents before and after the start and end points.
Tip
The Replace recording mode in Settings has a switch to enable automatic Trim when Recording into a track.
The Waveform preview shows vertical markers which move when changing the start and end points. Markers on the top correspond to the eight track cells’ boundaries while markers on the bottom represent half notes. You can use them to align the track with tempo:
Frequently Asked Questions
Why does Tempera export audio files as .flac?
FLAC is an open lossless compression algorithm, which makes audio around 50% smaller at zero loss of quality. Think of it like a zip file, and not like an mp3.
After saving a canvas, can I move or delete the original audio files used as samples?
Yes, the saved .canvas file is fully self-contained.
When previewing/auditioning audio samples, the volume is too loud.
Adjust Audition Volume in Settings
.